I’ve always been harping on about growing my own tomatoes and other veggies and earlier this year i attempted it for a while.Unfortunately with me going away for various conferences and generally being a forgetful lout i managed to kill many many plants!
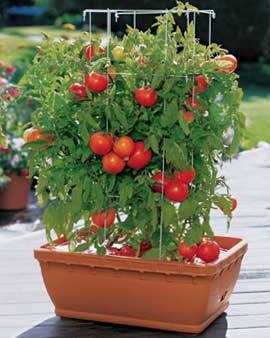
What i wanted was:

What I got was:

So recently I was playing with my arduino and thinking about this, and got the idea to try and create an automated gardening system where my plants where automatically given water/light/etc without me having to worry about it. There are some fantastic resources online like http://www.instructables.com/id/Garduino-Gardening-Arduino/ and http://makeprojects.com/Project/Garduino-Geek-Gardening/62/1.
I began planning something i’d want, and ideally it would have to be this:
- Moisture control for water
- Water pump to water them
- Light sensors for Lights and LEDs (red and blue for optimal growth)
- Humidity to keep my plants cosy
- Interface via LCD/Web to see how things are doing (if more water is needed etc)
- Solar panel to allow the system to be completely stand alone
I looked at some of the things and it appears that the solar panel wont be powerful enough to power the relay for the pump as well as the LEDs, so thats out initially till i find a better plan. And I think that the LEDs can be avoided for now with me probably going to have this thing outside.
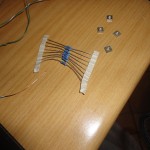
First things first, i decided to look at the moisture sensor, since thats what i’d initially need to make the water system work. Basically it checks the moisture levels in the soil and if the soil is too dry it will need to either turn on a water pump or change a valve or something to let the water flow. So i started looking around and you can buy moisture sensors for a few hundred bucks, but ACTUALLY they just measure resistance in soil so you can easily do this with a 2 pieces of wire, a resistor and some nuts (although these may not be required):
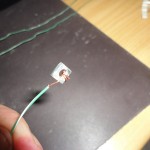
After this just strip either end of the wire and coil one side round one of the nuts (its essentially our ‘sensor’), you will need two pieces per sensor. Basically looks like this:
Next you want to connect this to the Arduino. One ‘sensor’ is connected to your 5V source. The other ‘sensor’ is connected to one side of the resistor along with a line to an analog port. The other side of the sensor is merely connected to the ground of the Arduino.
You can then read the resistence by simply doing something like: soilMoisture = analogRead(0) if it was connected to analog port 0.
Heres a video I made of a single sensor, and you can see the value changing as I pour water into the pot:
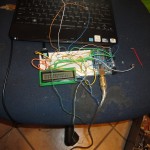
Of course just 1 sensor is cool, but we can do better, we can place 3 sensors at different levels of the pot and monitor the changes in resistence as the water trickles down to the roots, I also have an LCD connected to mine as you saw in the previous video to watch the changes. Here is the a 3 sensor system to watch the water adding resistance at depths.
And finally a video of it working:
Also the code for this for my Arduino:
1 2 3 4 5 6 7 8 9 10 11 12 13 14 15 16 17 18 19 20 21 22 23 24 25 26 27 28 29 30 31 32 33 34 35 36 37 | #include <LiquidCrystal.h> LiquidCrystal lcd(12, 11, 5, 4, 3, 2); int moisture_val1 = 0; int moisture_val2 = 0; int moisture_val3 = 0; int moisture_sensor1 = 0; int moisture_sensor2 = 1; int moisture_sensor3 = 2; String moistureString = ""; void setup() { // set up the LCD's number of columns and rows: lcd.begin(16, 2); } void loop() { lcd.clear(); lcd.print("Soil Sensor:"); lcd.setCursor(0, 1); moisture_val1 = analogRead(moisture_sensor1); moisture_val2 = analogRead(moisture_sensor2); moisture_val3 = analogRead(moisture_sensor3); moistureString = ""; moistureString = moisture_val1; moistureString = moistureString + "/"; moistureString = moistureString + moisture_val2; moistureString = moistureString + "/"; moistureString = moistureString + moisture_val3; moistureString = moistureString; lcd.print(moistureString); delay(1000); } |
Cheers,
Andrew


[…] before in the previous post – http://andrewmohawk.com/2011/10/07/automated-gardening-moisture-sensor/ the sensors are pretty simple to setup. I went and got a ton of electrical wiring for the pumps and […]