Badges
At some time in the next 6 billion years I will complete the writeup for the badges about how they were put together. For now this is just how to get your badge working at home as well as how to unlock all the challenges now that BSides Cape Town is over.
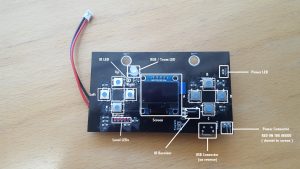
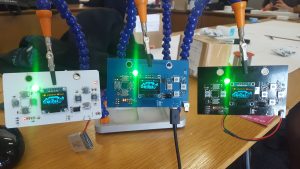
For those of you that missed it here is a picture of em and a potatocam video of it:
As some of you may have noticed (and people have asked), your badges are simply not doing anything once you take them home. This is a quick writeup on how to get your badge going again as well as how to unlock all the challenges and their addons (pong / wifi scanner / etc).
First off, if you want to find out about the badges for now you can go to http://badge.bsidescapetown.co.za:8000/badge/about/ this will describe the screens / options as well as explain the game:
http://badge.bsidescapetown.co.za:8000/badge/thegame/
Why they dont start up at home
In case you missed the small segment we did at the end of the conference, the badges won’t start up again unless they can connect to a wifi network. You have three options for how to configure this:
Create a WiFi Network
The badges are looking for a WiFi network with and SSID of “Highway” and a password of “dangerzone” ( note those are CaSeSeNsiTiVe. If you create this network and reset your badge (there is a reset button on the back), it will simply work.
Connect via Serial to tell the badge what network to connect to
The badges initially will try connect to the default WiFi network, if that fails they will try reading from the EEPROM (non volatile memory) and if that fails they will drop to a prompt asking the user for their SSID and Password. To view this simply install the CH430 driver so your machine picks up the device. Then you can connect to it at a baud rate of 74880 (this is the baud of the ESP8266’s debug channel).
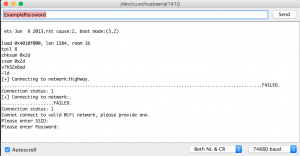
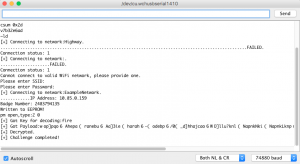
Personally I’m just using the Arduino application since it was easier to have it connect at the baud rate. Using it you should see the following screens and be able to input your SSID and Password:
In this case I used the SSID “ExampleNetwork” and password “ExamplePassword”, it connected and saved it to the EEPROM, for now on I can just wait for this badge to fail and if that network is available I will be connected.
Upload new firmware
If you don’t want to wait for it to timeout or run the Highway SSID you can also change the following line in the firmware and then re-upload it via esptool or Arduino
Unlocking all the extras
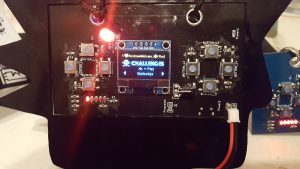
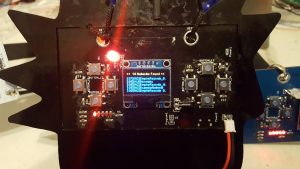
I have updated the page at http://badge.bsidescapetown.co.za:8000/badge/addhash/ that near the bottom you can simply put in your badge number and it will output a series of correct hashes that you can use to unlock all the challenges for your badge.
Keep it punk.
-AM

Thanks for putting together this post.
I attempted creating the default wifi network but badge doesn’t come on so viewed the serial monitor output and this is what I get:
ets Jan 8 2013,rst cause:2, boot mode:(3,3)
load 0x4010f000, len 1384, room 16
tail 8
chksum 0x2d
csum 0x2d
Fatal exception (0):
epc1=0x4010f2a1, epc2=0x00000000, epc3=0x00000000, excvaddr=0x00000000, depc=0x00000000
Fatal exception (0):
epc1=0x4010f2a1, epc2=0x00000000, epc3=0x00000000, excvaddr=0x00000000, depc=0x00000000
the fatal exceptions are continuously spat out even after multiple resets. I then tried to reflash the device but this also fails with this error
warning: espcomm_sync failed
error: espcomm_open failed
error: espcomm_upload_mem failed
error: espcomm_upload_mem failed
Do you have any word of advice on how I go about reflashing the device?
Heya,
So to upload just use Arduino for the easiest way, hold down the ‘program’ button on the back and press reset, you should see serial monitor tell you it is in (1,3) mode and then you can quickly just upload to it.
-AM